More and more teachers and students are using iPads at school. But just handing out iPads to students is likely to create more of an IT headache than translate into top grades. Our 6-step guide and free checklist explain how to successfully deploy iPads at school.

Rewind back to 2020: As governments across Europe and the globe implemented lockdowns to control the Coronavirus, many schools were left to frantically search for a solution to teach students without face-to-face classes.
Without a doubt, many turned to tablets and iPads in particular. Digital learning is now in full swing, with students using school-owned iPads or even their own iPads to study.
While this is a positive development, it also poses organisational and security challenges. When the correct tools are implemented, iPads can be remotely managed by teachers, lowering the management burden on staff while providing students with a smoother and more engaging work experience. To help you get started with digital learning, we will show you how to deploy school iPads in six simple steps.
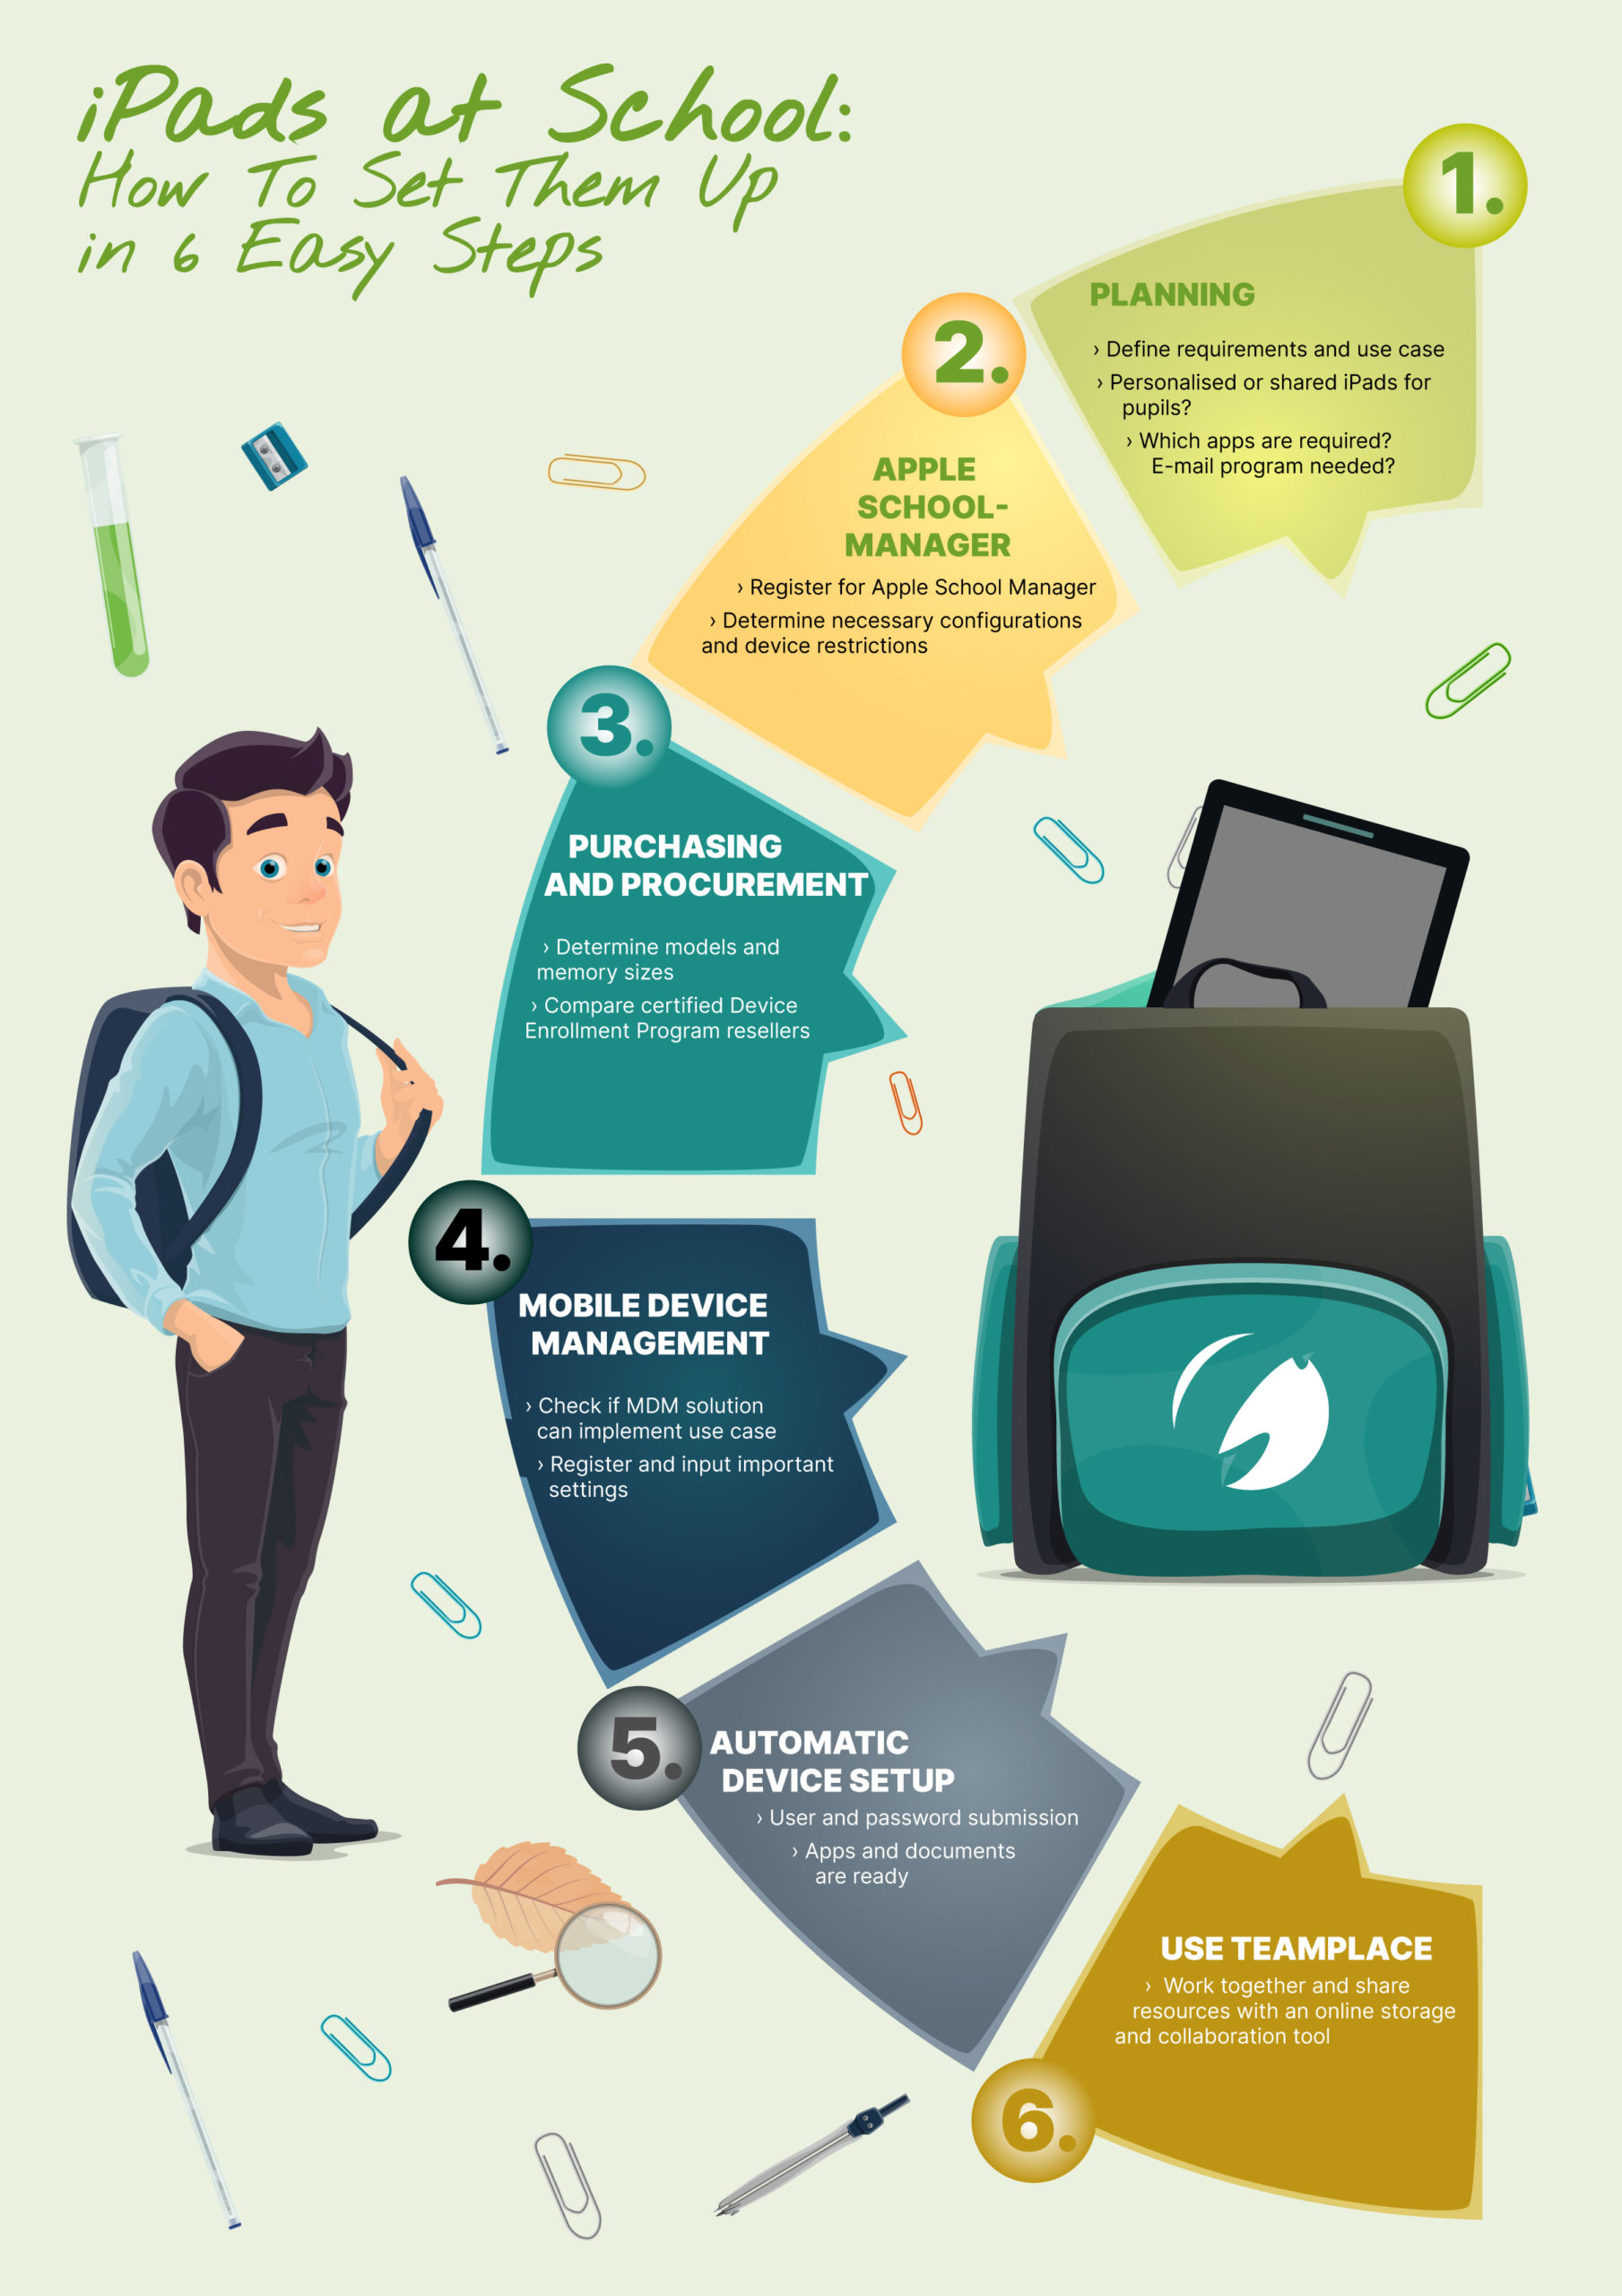
Step 1: Decide How You Want the iPads to Be Used
The most important and decisive point comes first. In order to have devices which work exactly how you imagined, you first have to create an appropriate concept. You should consider how you want to teach with the iPad and what the students should be able to do with them, all before they are purchased.
You can use the following questions as a suggestion:
- Should each student receive a personal tablet or should each class have a set of devices which always remain in the classroom?
- Which apps should be available on the devices?
- Should the students also be able to receive e-mails on the devices?
If you are unsure, you are welcome to discuss your application case with one of our account managers without obligation. Feel free to contact us at [email protected] directly.
Step 2: Register for Apple School Manager
Then register for the Apple School Manager. Registration is very simple. Just follow this link: https://school.apple.com/#enrollment
The reasons for this are simple: Managing student accounts, pushing apps, implementing content filtering and integrating devices with existing IT infrastructure is time consuming. Apple School Manager streamlines all of these aspects and combines them into one handy and free solution.
If you are an admin at educational institution, you can enroll into Apple School Manager online; just fill out the corresponding fields there. Apple will verify your information, which can take up to 5 days. During this process, Apple will also contact you by phone to verify your details. To do this, you will need to provide the verification contact in the application. Apple will then send you detailed instructions on the next steps you need to take to complete your Apple School Manager account.
Video Tutorial
How to register for the Apple School Manager
To find out more about Apple School Manager and what it offers, check out our ultimate guide to Apple School Manager. →
Step 3: Procure Equipment (Ideally with the Device Enrollment Program)
Now is the time to purchase the equipment. iPads come in different models and memory sizes. For school purposes, You don’t have to pick a model with the maximum amount of storage space possible – 64GB memory should be completely sufficient. Nor is an iPad Pro absolutely necessary.
However, when purchasing the devices, you certainly should buy directly from Apple or a certified reseller, as they offer special conditions for educational purposes.
In addition, these companies supply the devices as so-called DEP devices (Device Enrollment Program), which allows them to connect directly to your ASM account, saving you time. Make sure you mention this to the seller.
If you need more detailed information, take a look at our white paper on Apple’s Device Enrollment Program.
Step 4: Map your Use Case with a Mobile Device Management Solution
ASM is insufficient to fully implement your concept on the iPads. For this, the use of a suitable mobile device management (MDM) solution, like Cortado MDM, is essential.
If you have never heard of MDM, no problem. Again let us know via e-mail and we will be happy to show you in a short web session what an MDM solution can do and how you can implement your use case. Alternatively, our Beginner’s Guide to Mobile Device Management will also get you up to speed.
To get started straight away, simply register for the Cortado MDM free trial. Your MDM account will then be ready for you within a few minutes, so you can get started straight away. Our instructions show you step-by-step how to make all the settings so that in the end every device does exactly what it is supposed to do. If you have any questions, please do not hesitate to reach out to our support team.
Step 5: Get Started with Automatic Device Setup
If you have decided to use DEP devices, the last step is a piece of cake. Your devices are all stored in the ASM and connected to Cortado. When you now switch on the device, the usual first steps appear. If you go through these, you will then come to a point called remote management. At this point, the device will retrieve all the information you have previously entered in the MDM solution. Thanks to the configurations you implemented, the deployment process has been automated, while all iPads (and what apps and books are installed on them) can be easily managed remotely.
When the student has the iPad in the hand, they simply type in their username and password. Now the student can log in and the device will set up as you defined it for class. All apps and documents are rolled out to the device and all restrictions are implemented.
6. Bonus Tip: Set Up Online Storage
Finally, an online storage platform is a great way to distribute class materials, edit documents online and collaborate on group projects. Teamplace offers a good platform here that is easy to use and provides you with the best opportunities for your class to share.
The digital lessons can now begin!
Below we provide you with the information as a free downloadable infographic with a checklist. And maybe you are also interested in a practical example? Learn more on how Apple School Manager and Cortado MDM recently delivered results to a German School.
Free Checklist: iPads at School
Download infographic with checklist now!
We have compiled the individual steps for setting up school iPads in a convenient little checklist!